Mastering the Art of Violin String Change: Precision, Technique, and Scientific Insights
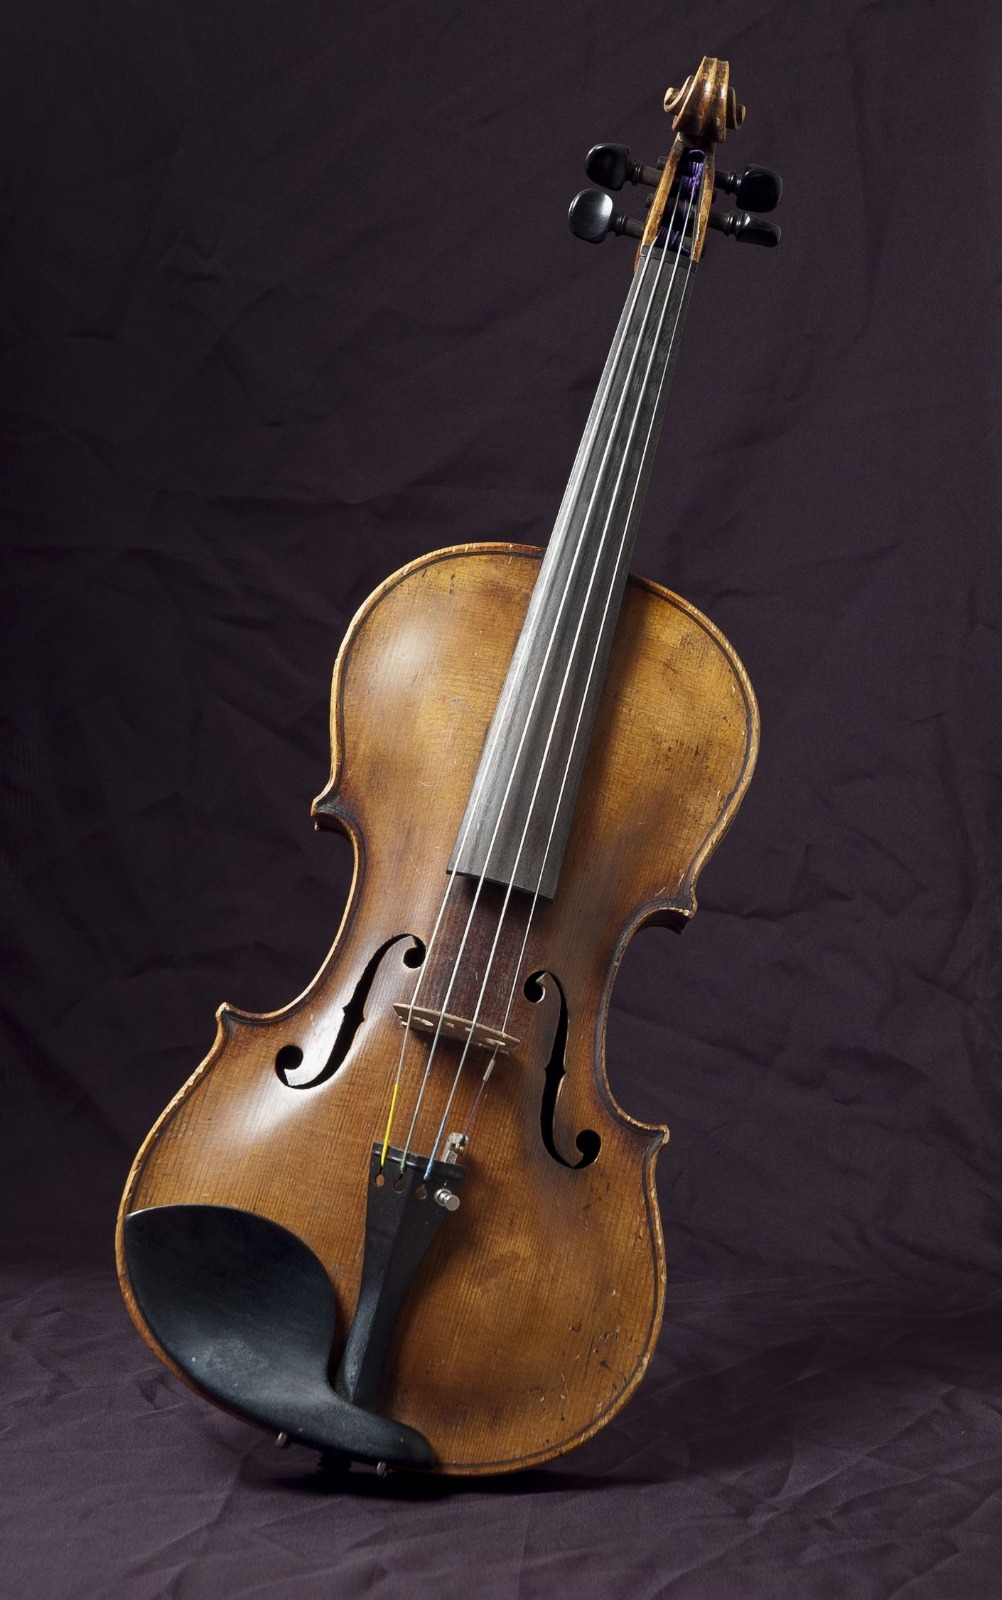
Changing a violin string might seem like a straightforward task, but this delicate process involves a blend of precision, technique, and understanding of the instrument’s physics. As a violin luthier, I’ll guide you through the steps while unravelling the scientific intricacies that contribute to optimum string change efficiency.
1. Select the Right String
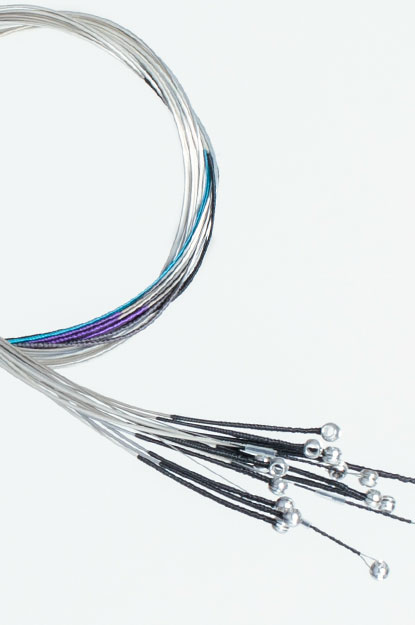
- Begin by choosing a high-quality string suitable for your violin. Strings come in various materials (such as steel, synthetic core, or gut) and tensions, each impacting the instrument’s sound differently.
- Consider the violin’s characteristics and your playing style. Higher tension strings often produce a louder sound but might require more finger pressure, affecting playability.
2. Preparing the Violin
- Loosen the old string gradually to release tension, preventing sudden pressure changes on the instrument. This step ensures the violin structure is not abruptly stressed.
- Take note of the fine tuner’s position before removing the string. It aids in fine-tuning after the new string is installed.

3. Understanding the Physics Behind String Tension
- Physics plays a crucial role in string tension and its impact on sound production. The tension affects the string’s vibration frequency and consequently alters the pitch and tone.
- Higher tension strings vibrate faster, producing a brighter tone, while lower tension strings offer a warmer, mellower sound.
4. Stringing the Violin
- Begin by inserting the ball or loop end of the string into the tailpiece’s slot, ensuring a snug fit.
- Wind the string carefully around the peg, maintaining even tension. Avoid crossing the strings as this can lead to tuning instability.
5. Physics of String Length and Pitch
- The length of the string between the bridge and nut determines its pitch. Shortening the vibrating length raises the pitch while lengthening lowers it.
- Proper winding and tension adjustments ensure the string remains at the correct length, optimising the pitch accuracy.
6. Tuning
- Gradually tune the string to the desired pitch, using a tuner for accuracy. Over-tightening the string abruptly can lead to breakage or damage to the instrument.
7. Post-Installation Adjustments
- Fine-tune the string using the fine tuner or peg, maintaining the desired pitch. Monitor the string’s stability over the next few days as it settles into its new tension.

Remember
Performance
The violin is a finely tuned instrument where every detail impacts its performance. Understanding the physics behind string tension, length, and vibration frequencies is key to achieving the desired sound quality and playability. Patience, precision, and a grasp of the scientific principles involved ensure a successful string change, enriching your violin playing experience.
If you’re not feeling confident doing it yourself, our skilled luthier is on standby to assist you. Purchasing strings through Hexham Violins means more than just products – it’s about receiving complimentary assistance. We’ll guide you in selecting the ideal strings for your instrument, help with setting them up accurately, and fine-tune them to ensure you extract the utmost from your instrument’s potential.
Typically, strings should be replaced every three months as a general rule. However, there are instances where more frequent changes, such as every two weeks, may be necessary. Read the link

